How will I get installation jobs?
As an electrician working with HelloTech, you’ll receive job offers through one of two channels:
- HelloTech Field Service Technician App
- Direct Assignment from the HelloTech Fulfillment Team
Here’s a breakdown of how each system works so you know what to exp
HelloTech Technician App
- You will receive a notification to check your HelloTech app
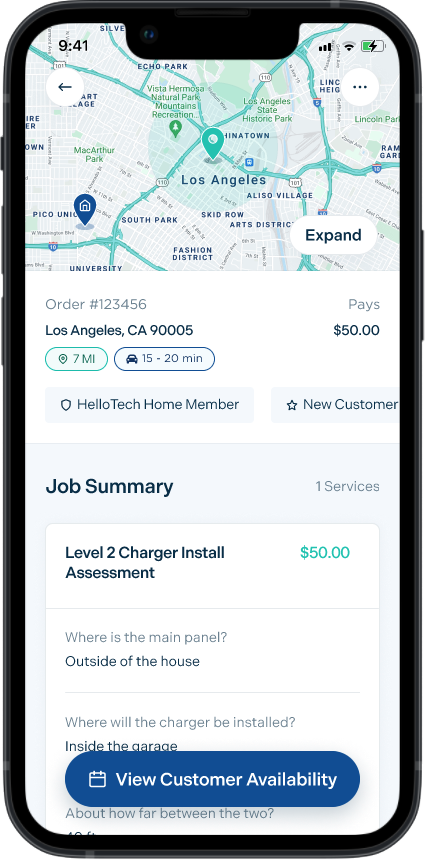
- Open the offer
- Assess customer information, location, and type of request.
- Assess customer availability.
- Select one of the customer’s preferred times that align with your availability to claim the job
- or, suggest alternatives using the standby function. If confirmed by the customer, you’ll be assigned the job at the new suggested time.
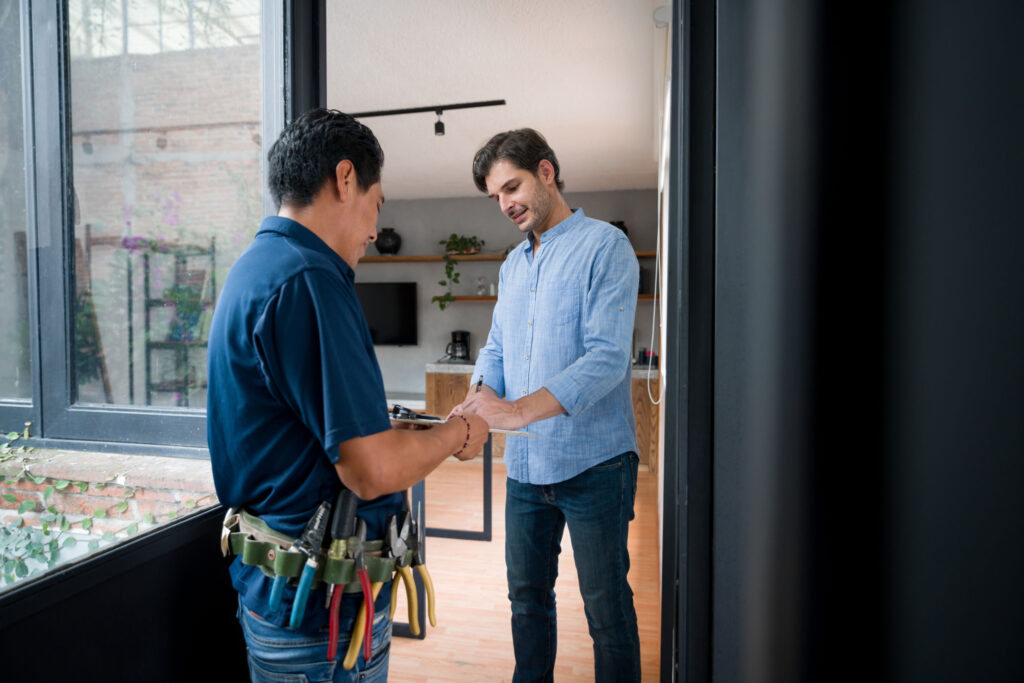
- Reach out to the customer to introduce yourself by letting them know you received an order from HelloTech. If applicable, set expectations for permits and requirements.
Once the work order is in your HelloTech app, you will have access to the customer’s information Including
- Date and Time of the appointment (decided when the job was claimed/assigned)
- Contact information
- Address
- Additional information/notes
Reach out to the customer to introduce yourself by letting them know you received an order from HelloTech. If applicable, set expectations for permits and requirements
Direct Assignment
Someone from HelloTech will contact you directly to offer you the job. If you are interested, the HelloTech agent will assign the job to your team via the HelloTech app.
The job will be assigned to you for the customer’s available time you confirmed when speaking to the HelloTech agent
Once the work order is in your HelloTech app, you will have access to the customer’s information Including
- Date and Time of the appointment (decided when the job was claimed/assigned)
- Contact information
- Address
- Additional information/notes
Reach out to the customer to introduce yourself by letting them know you received an order from HelloTech. If applicable, set expectations for permits and requirements
Permits and Inspections
If EV charger permits and inspections are required in your jurisdiction, you will be responsible for procuring and scheduling them.
Communicate with the customer promptly after receiving the job to request any information or documentation you require.
Pre-Visit Preparations
You can find all of the information about the installation via the HelloTech app.
If there’s anything you are missing and can’t find via the HelloTech app, contact HelloTech support: (800) 371-4805
Day of Installation
Expectations
On the day of the appointment, you are expected to:
- Arrive to and start the job on time
- Document and communicate all information via the HelloTech app
- Perform the installation to all applicable code standards
- Configure the charger using the manufacturer app
- Instruct customer on how to use and maintain the charger
Heading to the job
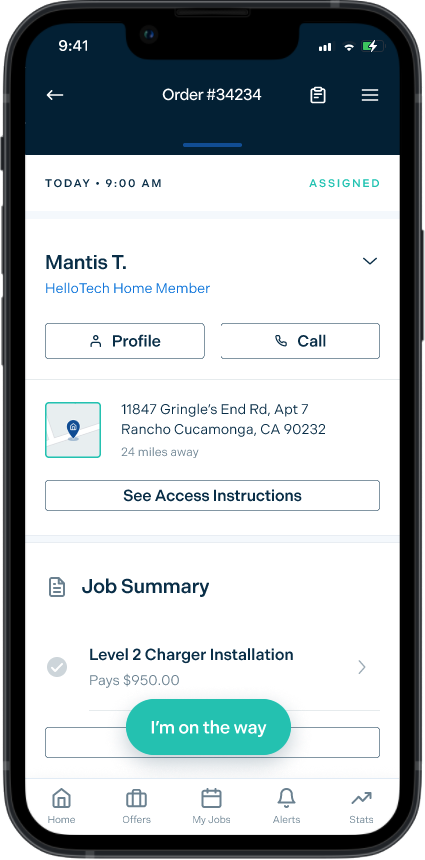
- Open the job in the tech app
- Press “I’m on the Way” when heading to the location
- The customer will be notified of your ETA
Starting the job
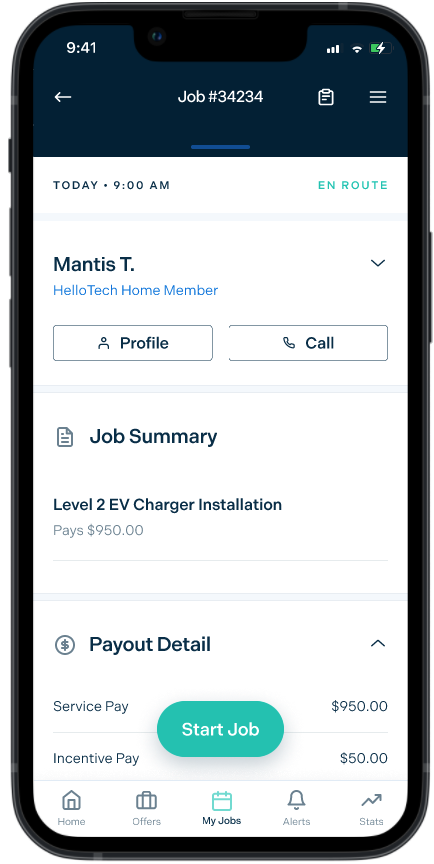
Once on site, simply press ‘Start Job’
Performing the Installation

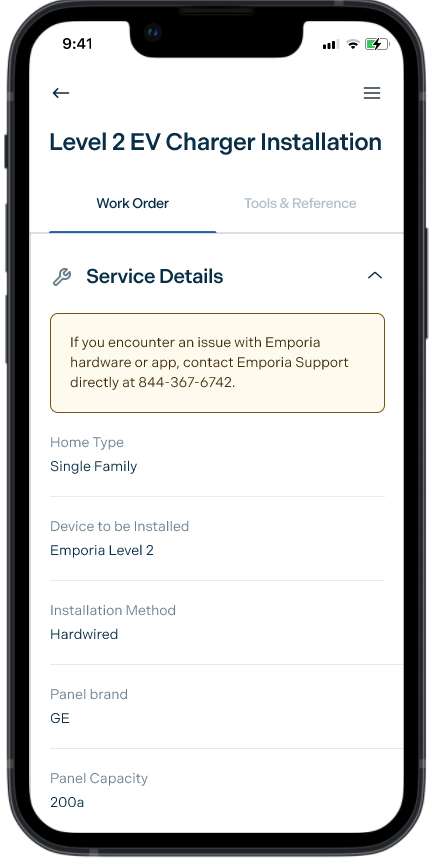
- Once the job has been started open the service details
- Perform the installation as scoped, taking photos of the work site, any existing damage, and process along the way (for insurance purposes)
- If changes are necessary, use the “Edit Service” function to update the work order.
- Important: Customer approval is required for any changes.
- On approval, the service will be updated
- If the customer does not wish to proceed, mark the service as unserviceable and select a reason why
- Close the job
- You or your company will be paid for the attempt
- If the customer does not wish to proceed, mark the service as unserviceable and select a reason why
- Installation guides are available in the tech app under ‘tools and reference’ You can also view the installation flow below.
- Important: Customer approval is required for any changes.
- Configure the Emporia charger via the app
- Contact Emporia support at 844-367-6742 for hardware or app issues
- Verify installation completion and functionality
- Confirm the customer’s satisfaction
- Press “Service Complete” on the service screen
- Press “End Job” on the job screen
- Get the customer’s signature and accept charges in the app
- Remind the customer of the inspection date if applicable
- Complete the job log and attach photos
Emporia App Setup and Customer Training
App Setup & Charger Configuration
- Launch the App:
- Open the app on the customer’s device
- Access “Manage Devices”:
- In the upper left-hand corner of the app’s menu bar, tap on the “Manage Devices” option.
- Add a New Device:
- Within the “Manage Devices” section, locate and tap on the “Add a Device” button.
- Select Emporia EV Charger:
- From the list of available devices, choose the “Emporia EV Charger.
- Initiate Setup:
- Tap the “Set Up” option to start the setup process for the Emporia EV charger
- Populate Device List:
- Allow a moment for the app to populate the list of devices. Once the Emporia EV charger is visible, proceed to the next step.
- Device Connection:
- Select the name of the Emporia EV charger from the device list.
- Permit the device to search for local networks. If you don’t see the device, ensure that your device’s Bluetooth is turned on.
- Connect to Local WiFi Network:
- Establish a connection between the Emporia EV charger monitor and your local WiFi network. Please note that it only supports 2.4GHz networks.
- Name and Configuration:
- Provide a name for the charger to easily identify it.
- Optionally, assign a name to a specific vehicle associated with the charger.
- Choose the correct time zone for accurate data.
- Select Charging Power:
- Based on the power output of your existing outlet, choose the appropriate maximum power charging option.
- Completion and Dashboard:
- Once the setup process is complete, proceed to launch the dashboard. The dashboard provides access to monitor and manage the Emporia EV charger.
Customer Education
- Give the customer a high-level walkthrough of the application
- Start with the menu bar
- Go over the units of measurement options
- Device controls (if applicable)
- Review the Settings section
- Give the customer a walkthrough of the home page
- Go over the time parameter options
- Show them how to change the unit of measurement options and how that reflects in the home menu.
- Walk the customer through the graphs page and explain that more data will populate this page as time goes on which will result in a more digestible report.
Device Specifications & Resources
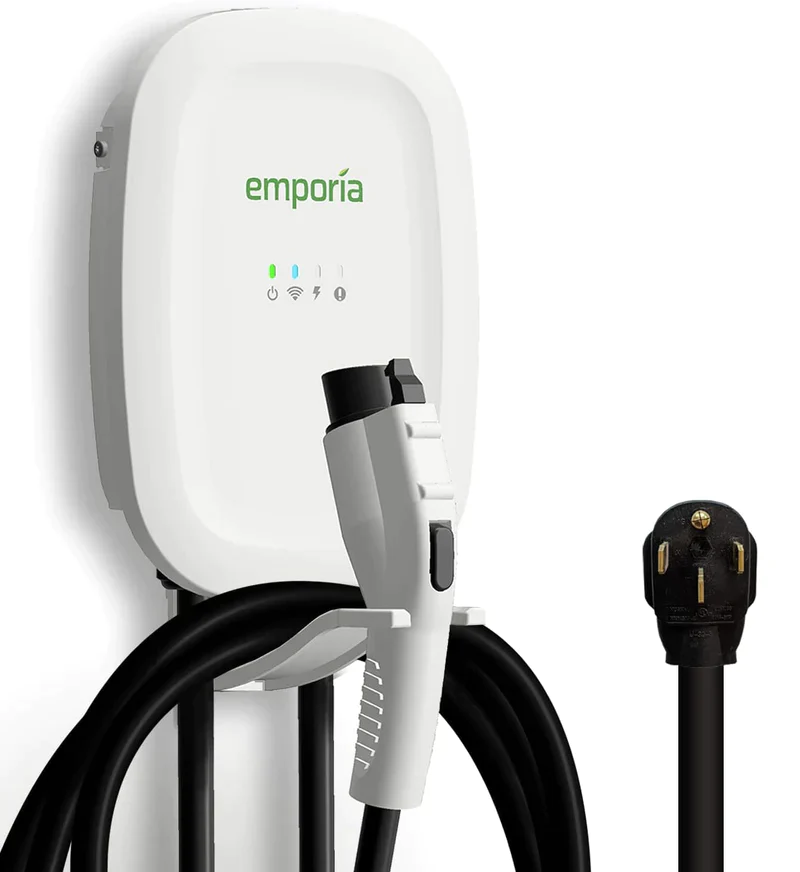
Emporia Smart Home Level 2 Charging Station
| Input Voltage | 208/240VAC 50/60Hz |
| Power Charge | 11.5kW (240V/48A) / 9.6kW (240V/40A) / 10kW (208V/48A) / 8.3kW (208V/40A) |
| Required Breaker | Dedicated 50A+ dual pole for 40A Dedicated 60A+ dual pole for 48A |
| Connector | 24’ cable SAE J1772 connector |
| Power Wiring | Type 14-50P (up to 40A) with 24″ cable compliant with 2017 NEC Section 625.17(A)(3) / Hardwired (up to 48A) |
| Enclosure | Watertight NEMA Type 4 indoor/outdoor |
| Temp Range | -22°F to 122°F (-30°C to 50°C) |
Full Spec Sheet
Manufacturer Installation Guide
Help with this device