Hello technicians! This guide is meant to support you through the installation of a Smart Video Doorbell. In this guide, you will find the information you need to successfully complete a video doorbell installation within the HelloTech policy and limitations. Use the menu to quickly find the information you need or read through the whole guide to learn how to install your first video doorbell.
Video doorbells are a great way for homeowners to make home safer. HelloTech installs virtually any type of video doorbell, with a few exceptions.
This is your definitive guide to performing flawless installations video doorbell installations with HelloTech!
Scope of Work
Included in service
- Installation of one customer-provided video doorbell
- Removal of the existing doorbell
- Inspection of the electrical wiring and wall integrity
- Electrical testing to verify current and voltage to the doorbell
- Transformer replacement if necessary, explain to the customer that this is an additional service fee
- Extension of WiFi using extenders if requested
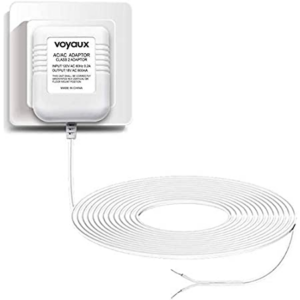
- Install power adapter at the chime if needed
- Install the new video doorbell
- Connect the doorbell and perform setup for the relevant app on the customer’s device
- Customize device preferences
- Clean the work area of any debris created during the installation
- Installation of paired chimes (ie Ring chime)
Not included in service
- Video doorbell devices unless purchased from HelloTech product shop
- Replacement of intercom systems
- Relocation of existing electrical to another installation location
- Any electrical issues outside of the transformer replacement (will need an electrician to correct)
- Account creation or recovery
- Replacement or repair of pre-installed chimes
- Installation of plug-in transformers
Required Tools & Hardware
- Multimeter
- Voltage transformer capable of handling 16 – 24 volts
- Philips Screwdriver
- Flathead Screwdriver
- Power Drill
- Concrete and Wood Drill bits
- Pen/Pencil
- Level
- Wire Connectors
- Rubber Gloves
- Eye protection
- Face mask rated for attic use
Quick Tips
To ensure the best possible service, we recommend you:
- Contact your customer before the job to ask for additional information they may have forgotten to share
- Verify the address and directions to the customer’s home the day prior to the appointment
- Help the customer run a WiFi speed test before arriving onsite to verify the viability of the install
- Ask if they or someone else will be home during the service
- Verify that the customer has installed the relevant control applications
- Take photos of the installation site before, during, and after your job
- Hardwiring doorbells whenever possible, even when the doorbell can run on battery instead
- ALWAYS have a voltage transformer on hand
- Reach out to the Technician Support line if you need to modify the order or have any other questions or concerns
- Clean up after the job, leave the worksite better than you found it!
Preparing for the Job
When claiming smart doorbell installation jobs, consider the following steps to best prepare for a successful installation.
- Read the job description thoroughly.
- Contact the customer prior to the appointment to ask questions and gather more information about the service request.
- When speaking with the customer:
- Confirm the date and time of the appointment
- Verify the address is correct
- Confirm the make and model of the doorbell you will be installing to better prepare yourself for the installation.
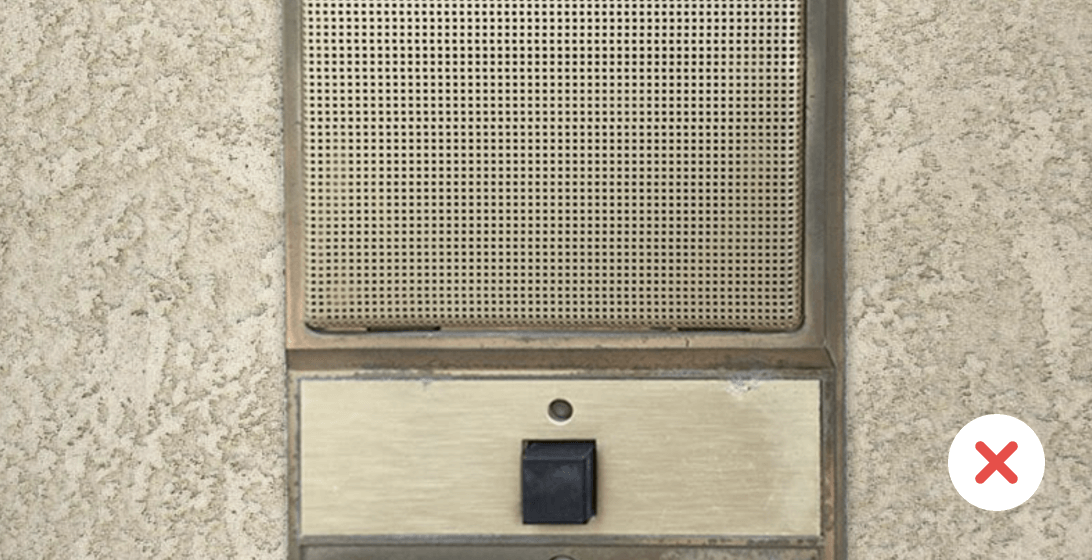
- Ask the customer if the existing doorbell is working and if it is an intercom system or standard doorbell.
- Note: We do not support intercom replacement installations.
- Note: We do not support intercom replacement installations.
- If you will be installing a hardwired smart doorbell, ask the customer if they have a pre-existing wired doorbell.
- Note: If they do not, they will need an electrician to run power to the location and we will not be able to install the new doorbell. Instruct the customer to contact support to reschedule the installation for a later date.
- If you will be installing a battery-operated smart doorbell, ask the customer to charge their doorbell battery prior to the appointment.
- Confirm that the customer has the device that needs to be installed or will have it upon the service date.
- Ask the customer to verify that the video doorbell box contains no damaged or missing parts prior to arrival.
- Inform the customer that the device-specific application will need to be installed on the phone of the person who will be home during the service.Charge / prepare / organize your tools / hardware for the installation.
- Review the manufacturer’s installation material / guide to prepare for the installation.
Installation Walkthrough
Once you’ve arrived on site, greet the customer and proceed to evaluate the installation. For device-specific resources, go here.
Inspect surfaces and hardware
- Confirm the existing doorbell works and locate the chime
- Confirm that the installation area is adequate for the doorbell installation. Mounting on stone, metal, or tile surfaces is not covered by HelloTech’s policy.
- Supported surfaces

- Unsupported surfaces

- Supported surfaces
- Confirm that the doorbell system is not an intercom system. We will not perform the installation if the customer has an intercom system.
- Add pre-installation photos into the tech app along with any important notes.
- Make sure to set expectations about the placement of the doorbell. Recommend the use of the provided angle wedge if the customer desires.
WiFi Check
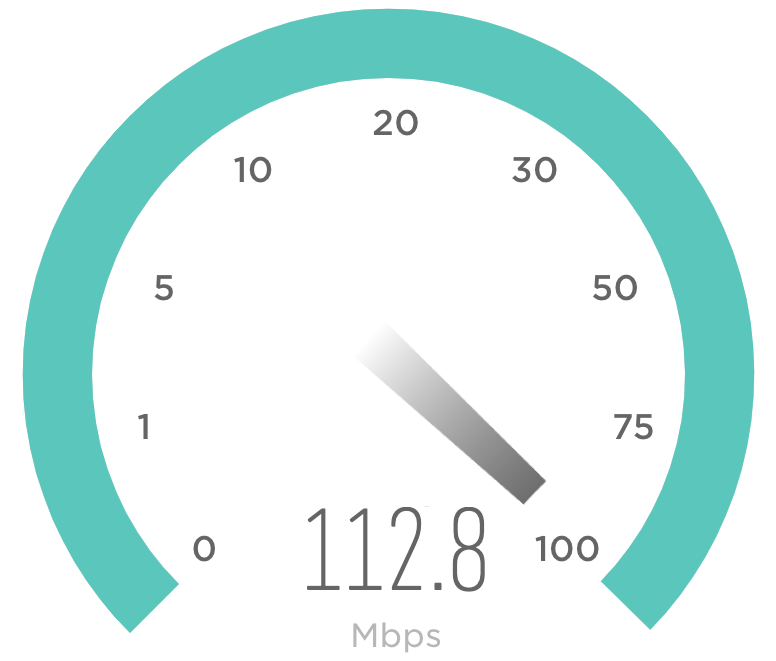
Run a speed test at the location where the doorbell is to be installed to confirm that there is adequate download speed for the video feed to work. You should have at least 25mbps download speed for a stable connection and clear video feed.
- If you do not have enough bandwidth at the install location, inform the customer about it and explain that an extender or new router system is necessary to improve speeds after showing them the current speed results. Inform the customer that you can install an extender but there’s an additional cost.
- If the customer agrees to the additional fee: Visit the tech app and add the extender install which covers the part + labor.
- If the customer does not agree to the additional service fee: Close the ticket and mark the order as incomplete.
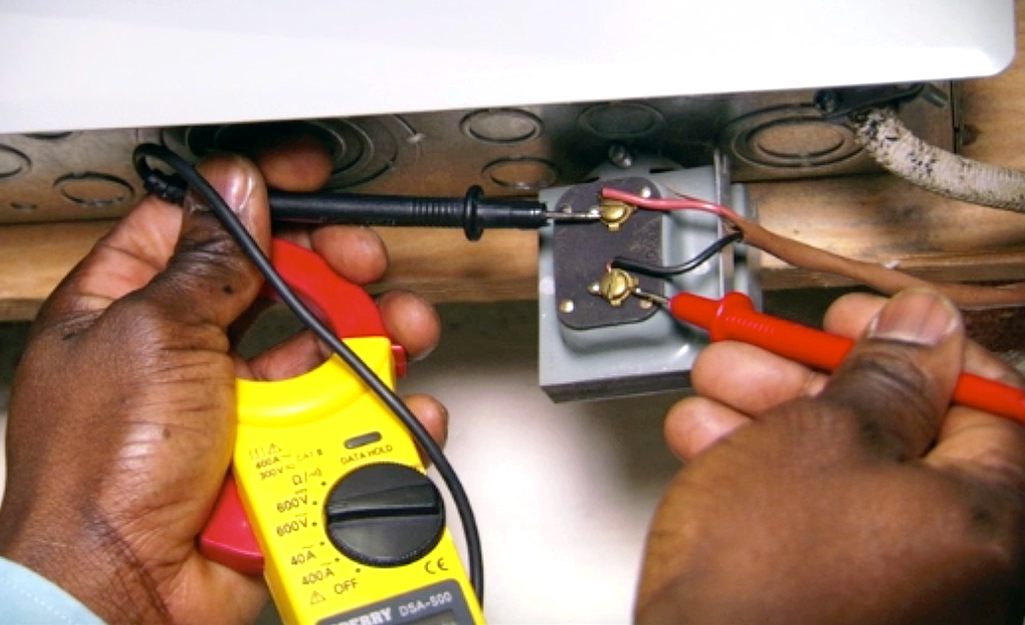
Voltage Check
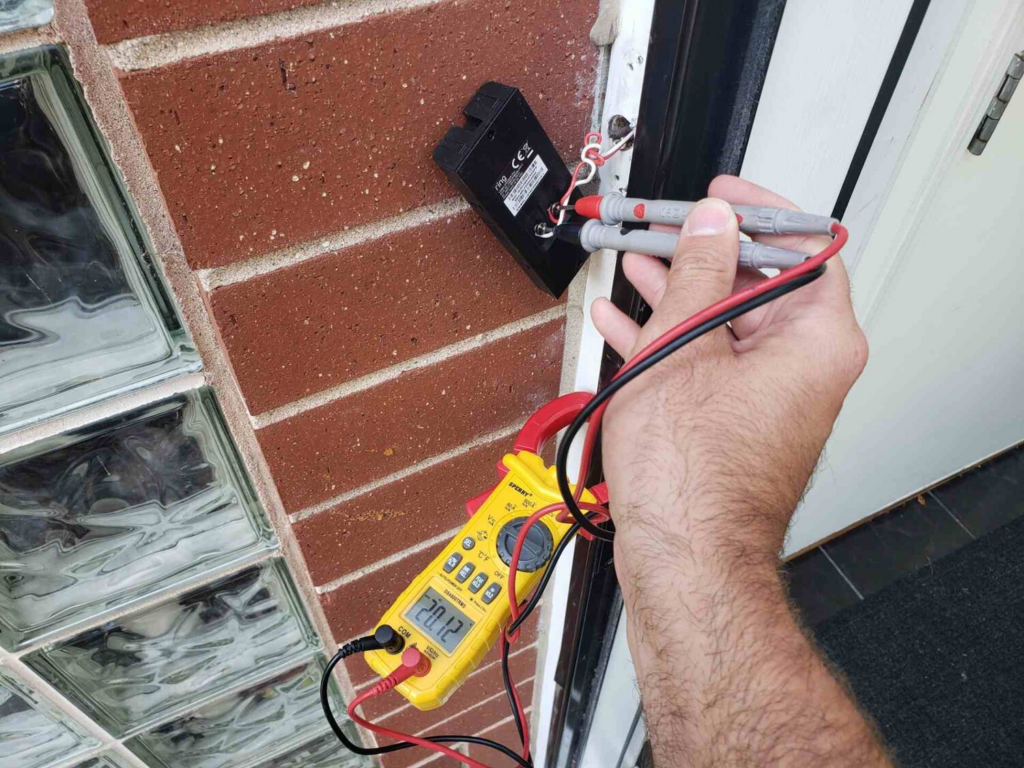
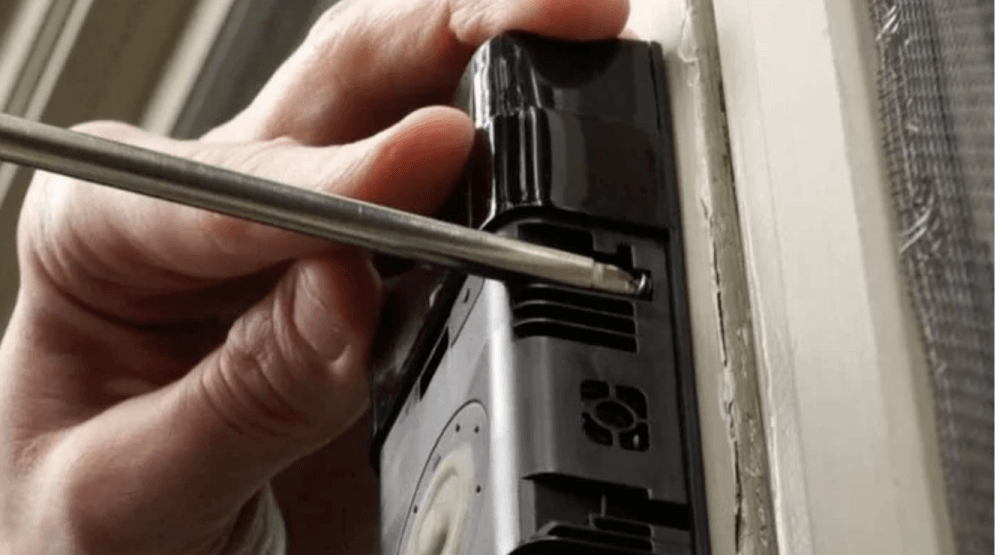
- Access the wires of the current doorbell
- Check the voltage output using your multimeter to confirm you have adequate voltage output. Usually, that’s 16-24 Volts of AC power, depending on the doorbell you are installing.
If the voltage is within the acceptable range, proceed with the installation
If the voltage output isn’t sufficient or exceeds the required voltage, inform the customer and explain that a new transformer is required while showing them the current reading of their system. Inform the customer that you can install a new transformer but it’s an additional cost.
If the customer agrees to the transformer replacement: Use the tech app to add the transformer install which covers the part + labor. Proceed to transformer replacement
If the customer does not agree to the additional service fee: Close the ticket and mark the order as incomplete.
Installing the Doorbell
- Turn off the breakers
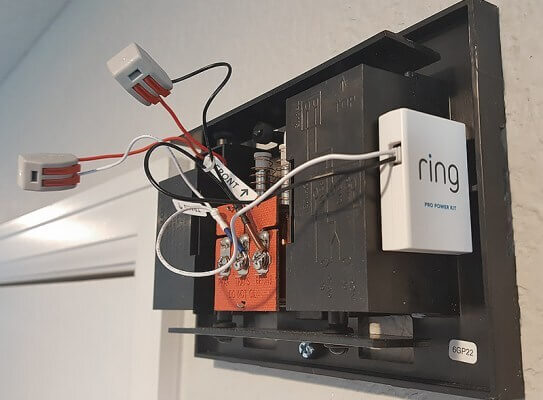
- If the doorbell you are working with requires a jumper cable or power kit, you should install it now. (See doorbell requirements below for detail)
- After wiring the chime with either a jumper cable or power kit, prepare the smart doorbell for the wall mounting part of the installation including:
- Removing the doorbell cover (If applicable)
- Gathering all the mounting hardware (screws, screw anchors, wire ties/extenders, mounting wedges)
- Remove the existing doorbell
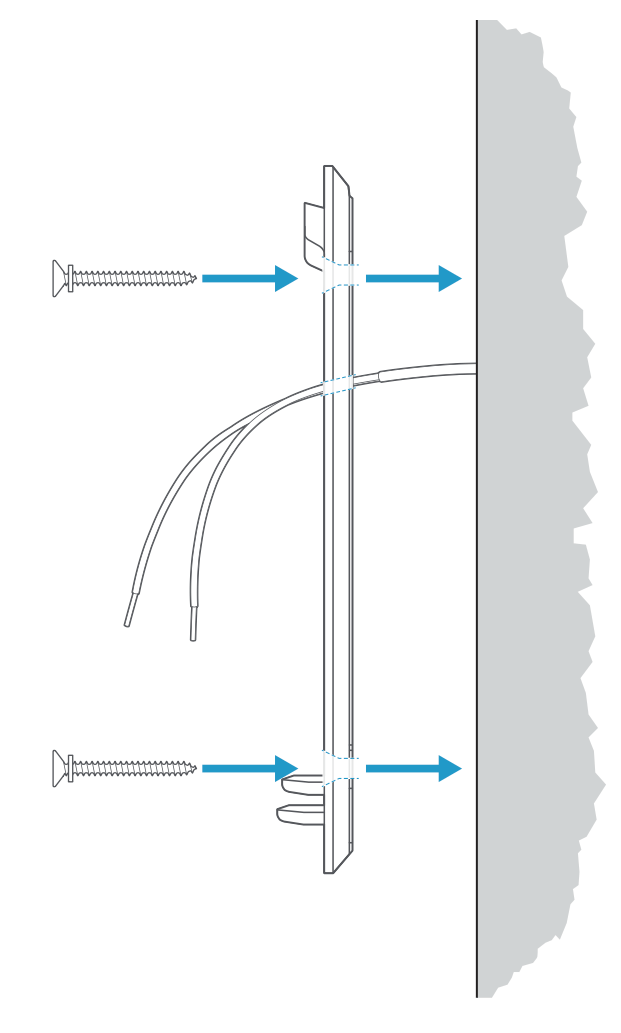
- Place the mounting bracket on the wall and pencil in the screw holes while making sure it is leveled.
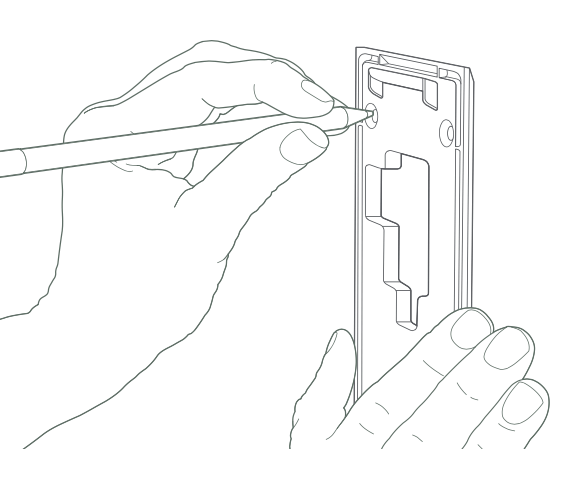
- Verify the installation position with the customer
- Using the penciled markings, you can do the following:
- If you are mounting on brick, stucco, or any wall that will require anchors, then use the proper drill bit, and create pilot holes for the anchors where your markers are. Make sure that the hole’s diameter does not exceed the width of the anchor otherwise, the anchor will not grip the wall.
- If mounting directly on wood, attach the mounting bracket to the wall surface using the provided screws.
- If the doorbell model you are working with has a mounting plate, then attach the plate to the wall.
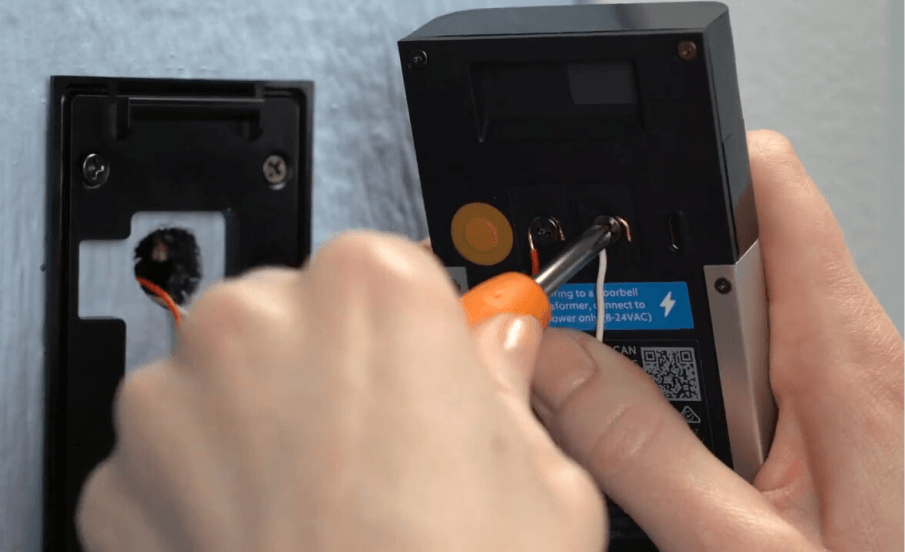
- Connect the cables to the mounting plate or directly to the doorbell terminals (this will vary depending on the model you are installing)
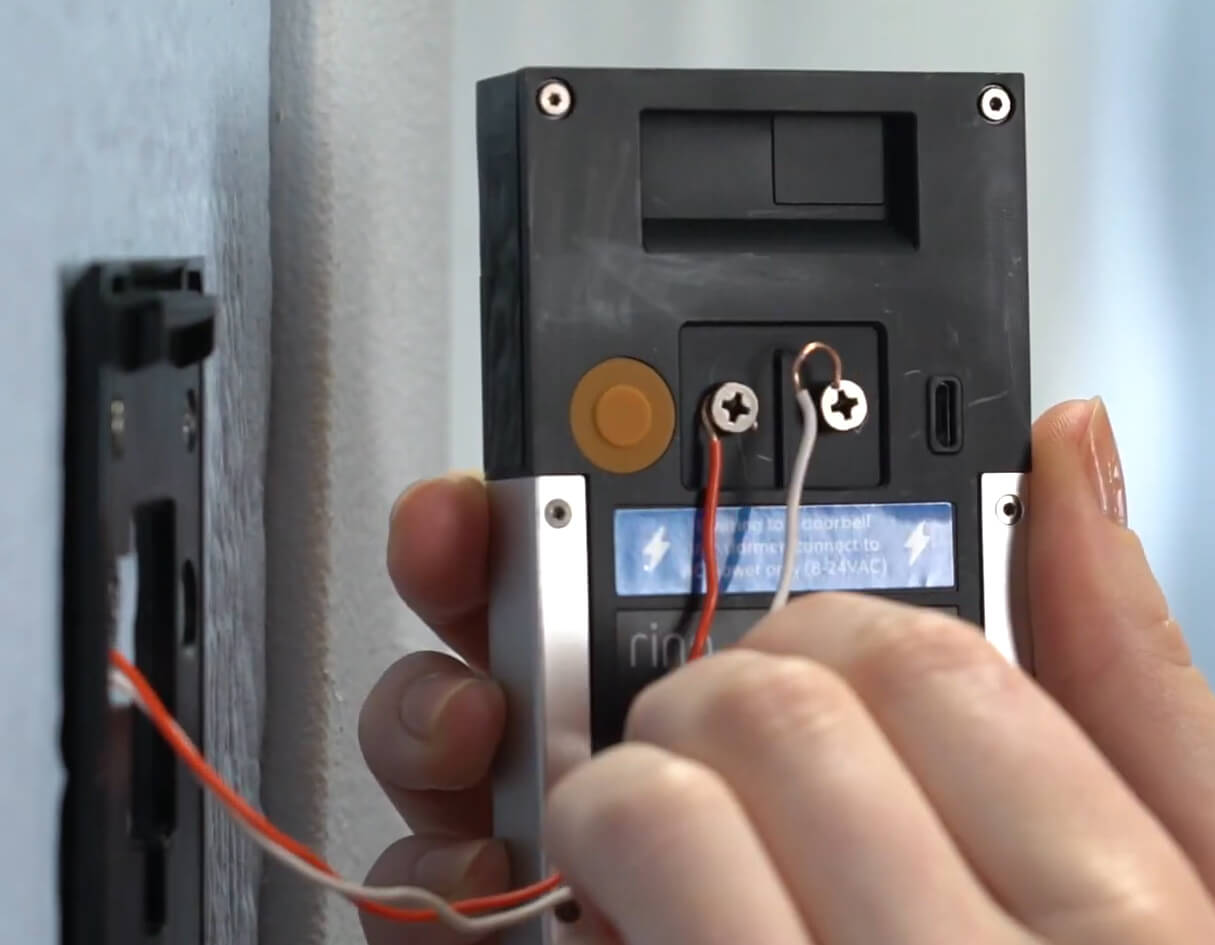
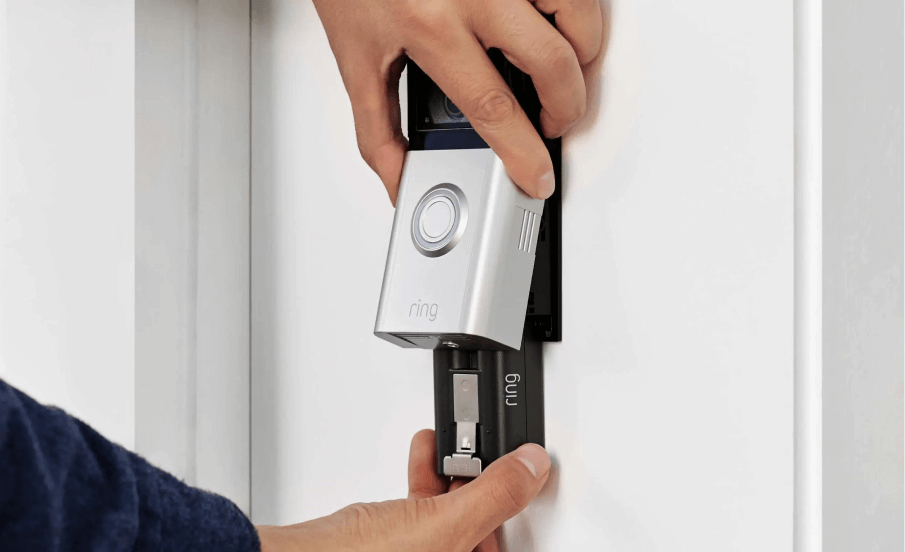
- After connecting the wires to the doorbell or doorbell’s mounting plate, attach the remaining part to the wall. (either the doorbell to the wall or the doorbell to the mounting plate. It will vary depending on the model.)
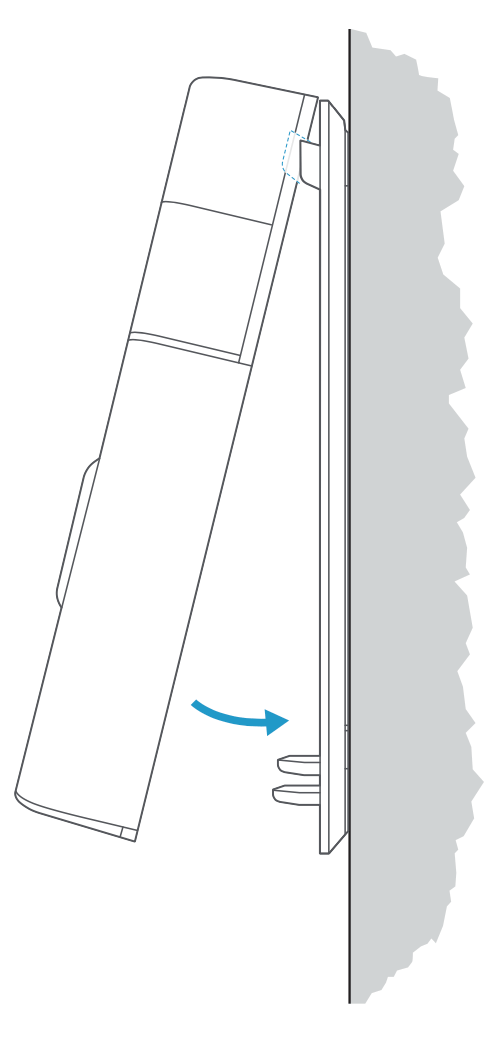
- Before securing the doorbell to the wall using the security screws, complete the App setup
- Once the App setup is complete and the video feed is working, secure the doorbell using the security screws.
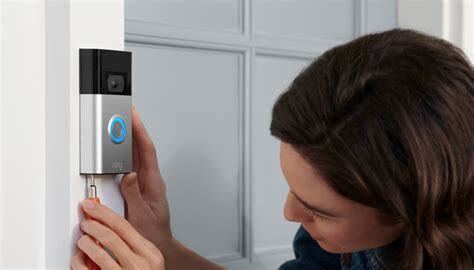
- Clean up any debris created during installation
Transformer Replacement
In the case that you need to install a transformer, follow the instructions below.
- You will want to locate the transformer and assess the area to make sure it is safe to work in. Ask the customer to move any obstructions if possible so you are able to easily work with the transformer.
- Test the power at the transformer with your multimeter. This will help confirm the need to replace the transformer.
- Turn off the power. Inform the customer that you will be turning off the power for a moment while you replace the transformer. It is best to turn off the whole household if you are unable to determine which breaker the transformer is on.
- Take a photo of the transformer before removal to help you remember the proper wire connections. Compare the existing transformer to the new transformer to assess how to reconnect wiring and mount it securely to its base.
- Remove the doorbell and home electrical wiring from the existing transformer. Safely remove it from the base if applicable.
- Mount the new transformer to the base to make sure it does not lay loosely in place. Reconnect the home electrical and doorbell wiring to the transformer. Use the previously taken photo for reference.
- Turn on the power and retest the transformer voltage using your multimeter to make sure it meets the power requirements.
- Test the voltage at the doorbell using your multimeter to make sure it meets the power requirements.
- Proceed to doorbell installation
FAQ
-
Do I need to bring a voltage transformer?
You must be equipped to do a transformer replacement if the need arises and the customer wants to proceed with this.
We recommend having at least one on hand at all times in order to complete these jobs.
We recommend this simple and affordable one.
-
What’s a power kit?
A Power Kit is a small device that makes sure that enough power is sent to your Smart Doorbell to function. They’re not always required, but Video doorbells usually include one if they are.
-
When is this job unservicable?
You will need to abandon this instllation if any of the following conditons arise:
- Inadequate WiFi coverage at install location and customer does not want to use an extender
- Transformer needs replacement and customer does not want to proceed
- Transformer needs replacement but is inaccessible without cutting into walls or ceiling
- Devices are defective or missing parts
- Customer wants a wired video doorbell but has no existing doorbell
- Customer wants to replace an intercom system
-
Why don’t we deal with plug-in transformers?
For a clean install, a plug-in transformer would require us to drill into and run wire through walls. This presents liability issues and should be left to an electrician.
-
What transformer should I bring?
We recommend this one!
-
What about WiFi Extenders?
If download speeds are under 25/mpbs, video willlikely be low quality and intermittent.
We HIGHLY recommend helping the customer perform a speed test prior to your arrival so you can determine if a WiFi extender will be necessary.
If one is needed, we recommend a simple one like the TP Link AC750.
-
Can all doorbells run on battery?
No, some doorbell models are hardwire only and cannot run on battery.
However, all battery-powered options can be hardwired. We recommend this whenever possible so that batteries never need to be removed and charged.
Batteries can last from 6-12 months with normal usage.
Device Specifications & Resources
Ring
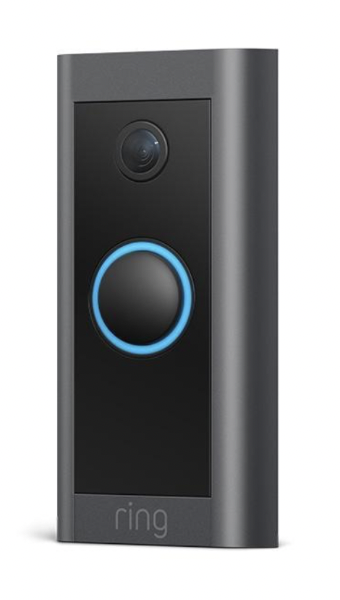
Video Doorbell Wired
| Mounts via | Doorbell directly onto the wall |
| WiFi requirements | 2.4GHz frequency and 25mbps download speed |
| Power requirements | 16-24 VAC, 40VA max, 50/60Hz, or 24VDC, 0.5A, 12W |
| App | Ring App iOS & Android compatible |
| Assistant Compatibility | Alexa, Google, Siri |
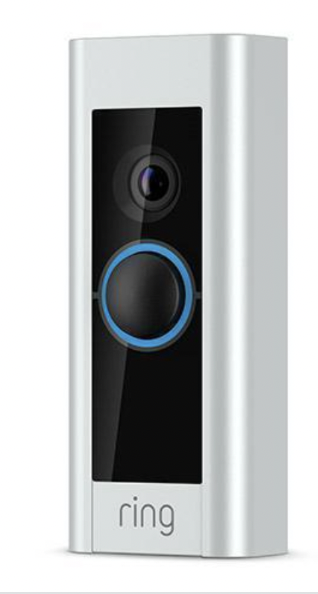
Video Doorbell Pro
| Mounts via | Doorbell directly onto the wall |
| WiFi requirements | 2.4GHz frequency and 25mbps download speed |
| Power requirements | 16-24 VAC, 40VA max, 50/60Hz, or 24VDC, 0.5A, 12W |
| App | Ring App iOS & Android compatible |
| Assistant Compatibility | Alexa, Google, Siri |
Logitech

Circle View Doorbell
| Mounts via | Mounting plate and wedge kit |
| WiFi requirements | 2.4GHz or 5.0GHz and 25mbps download speed |
| Power requirements | 8-24V AC 10VA transformer or higher, Requires power kit installation |
| App | Apple HomeKit compatible only |
| Assistant Compatibility | Apple, Siri |
Google Nest
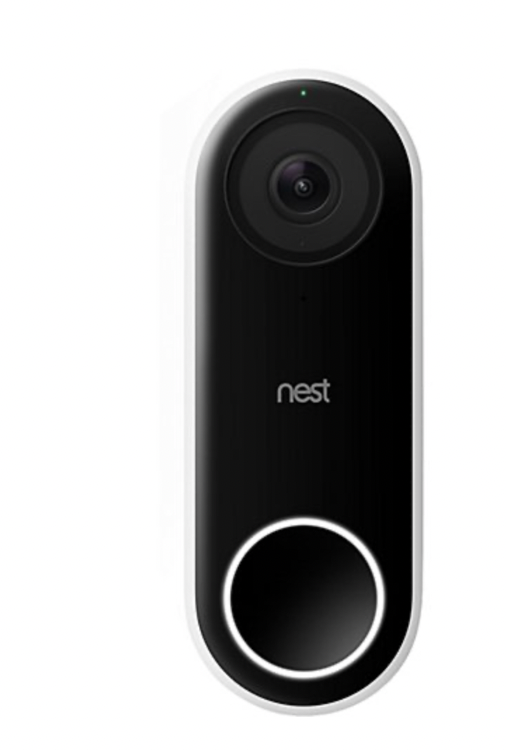
Nest Hello Doorbell
| Mounts via | Mounting plate |
| WiFi requirements | 2.4GHz or 5.0GHz and 25mbps download speed |
| Power requirements | 16-24V AC 10VA transformer or higher, Requires power kit installation |
| App | Nest App iOS & Android compatible |
| Assistant Compatibility | Google, Alexa |
Arlo

Arlo Essential Wired Doorbell
| Mounts via | Mounting plate |
| WiFi requirements | 2.4GHz or 5.0GHz and 25mbps download speed |
| Power requirements | 16-24V AC 10VA transformer or higher, Requires power kit installation |
| App | Arlo App iOS & Android compatible |
| Assistant Compatibility | Google, Alexa |
Honeywell/Skybell
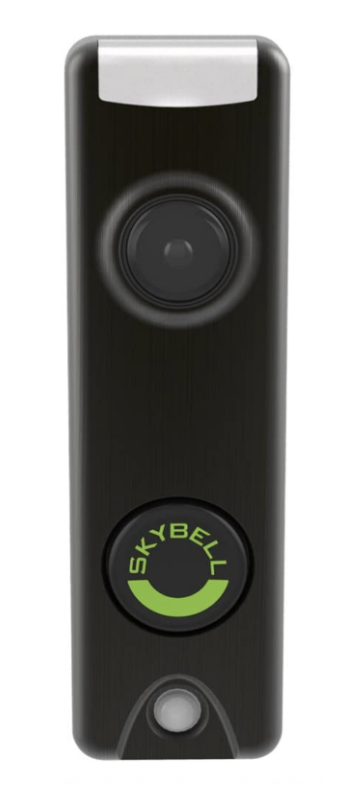
Skybell Trim 2 Pro
| Mounts via | Mounting plate |
| WiFi requirements | 2.4GHz or 5.0GHz and 25mbps download speed |
| Power requirements | 10-36V AC 10VA transformer or 12V DC |
| App | Arlo App iOS & Android compatible |
| Assistant Compatibility | Google, Alexa |
August
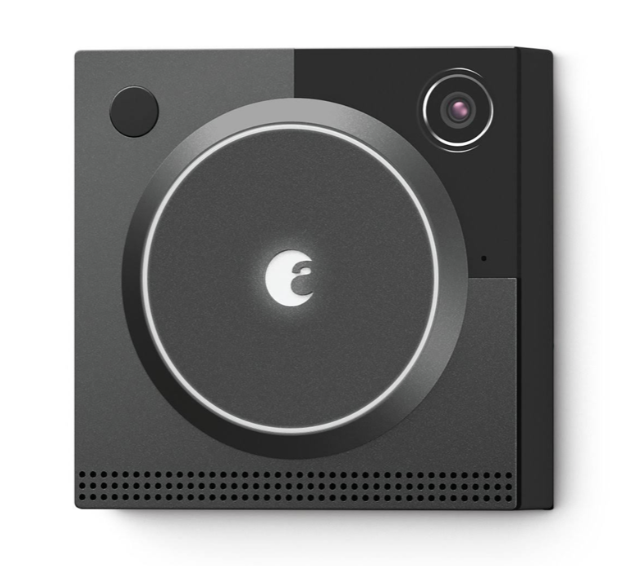
Doorbell Cam Pro
| Mounts via | Mounting plate |
| WiFi requirements | 2.4GHz or 5.0GHz and 25mbps download speed |
| Power requirements | 12-24V AC 10VA transformer or higher, Requires power kit installation |
| Assistant Compatibility | Google, Alexa |